Sync Groups
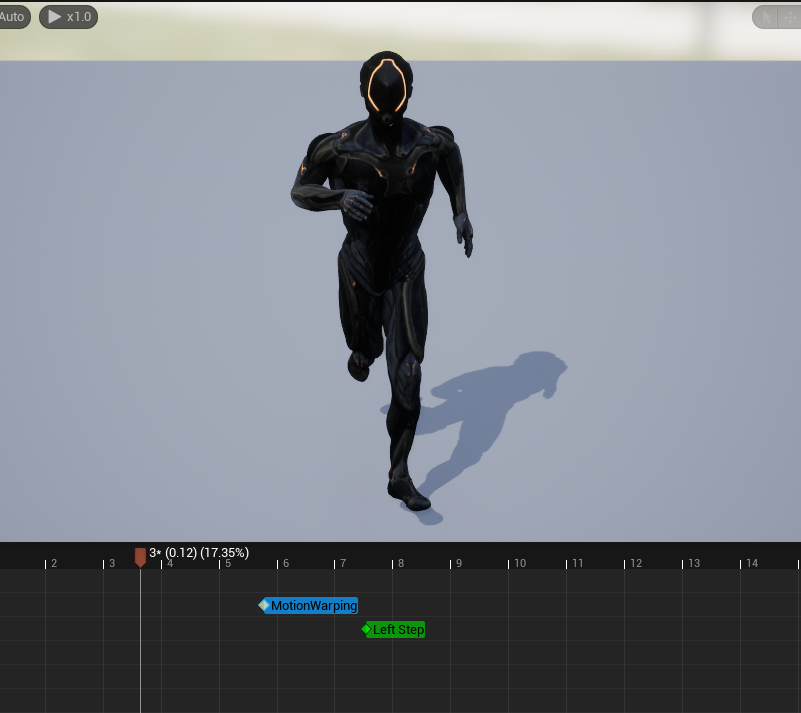
Unreal provides an option to create sync groups for animations. In the video above, you can see two sync markers that have been placed. The first sync marker is labeled as “Left Step” and the second marker is “Right Step”. You add these sync markers to all of the animations that will be in the same sync group. For example, for the steps, we may have a “steps sync” group. The animations I added this week that are part of the “steps sync” group include:
- Start Walking
- Standard Walk
- Running
The advantage of using sync groups is that we can get more polished blends between animations. In this case, I am using sync groups to ensure that when the walk animations and run animation transition to one another, they blend perfectly. The sync groups ensures that the animation starts precisely where the sync marker is to ensure that the feet always match up when blending.
Animation Blend Spaces

Initially I started adding the walk and run animations using a state machine. However, I can alternatively use Blend Spaces for my base character movement animations.
Here you can see how I have 3 points on the blend graph. The far left point is the Idle animation, the middle is the walk animation, and the far right is the run animation. I originally tried blending the animations with an additional fourth point, the start walk animation. However, I found that by adding in that additional animation, the return to idle transition would be choppy. Therefore I decided to remove it as it would not improve the animation blend quality.
An important note for this blend space, the horizontal axis in my graph has been renamed to Speed. Additionally the horizontal axis max value has been increased to be the max character movement speed.

For this blend space to function, I needed to add in the Blendspace Player node in the AnimGraph in the animation blueprint. In the animation blueprint event graph I update the speed variable to be the player characters velocity and pass that into the blend space to update appropriately.
There are many other settings that can be adjusted in a blend space that can help improve the visualization of animation transitions. I suspect that when I get to the climbing animations these may be very useful for creating cleaner climbing transitions.
Animation Motion Warping

Motion Warping can be used to dynamically adjust the character’s root motion for the animation to move towards a target. Motion warping incorporates setting up blueprints alongside setting up an Animation Montage. The example Unreal’s documentation provides is a punching animation the motion warps towards a target punching bag. For this project, I do not believe there is any benefit of utilizing motion warping for animations. Basic blending of animations should hopefully suffice. If not, motion warping will be incorporated at a later date.
Inverse Kinematics Rig

The IK Rig can be used along side a control rig to adjust hand placement on our character to be flushed with the wall while climbing. This can also be used to create realistic foot placement. The current skeleton I have does not already have IK setup. I am able to set the retarget chains for them, but it seems like it would be quicker to use Unreal’s Mannequin instead to reduce work required to make animations look good. If I decide to use an IK Rig to clean up animations, it will be at a later date as the primary goal of this project is to make the AI traversal system.